


There are many skills one needs to master to become decent at the game of Dota 2. One of these skills is the art of warding.
It’s something that might seem simple on the surface, but nothing is further from the truth. The warding game can often feel like an entirely different game from Dota 2 itself, and we are here to teach you about it.
The basics
Before jumping off the diving board into an olympic pool of advanced warding strategies, we first need to learn to swim in the kiddie tub basics. So what are these wards exactly, and what do they do?
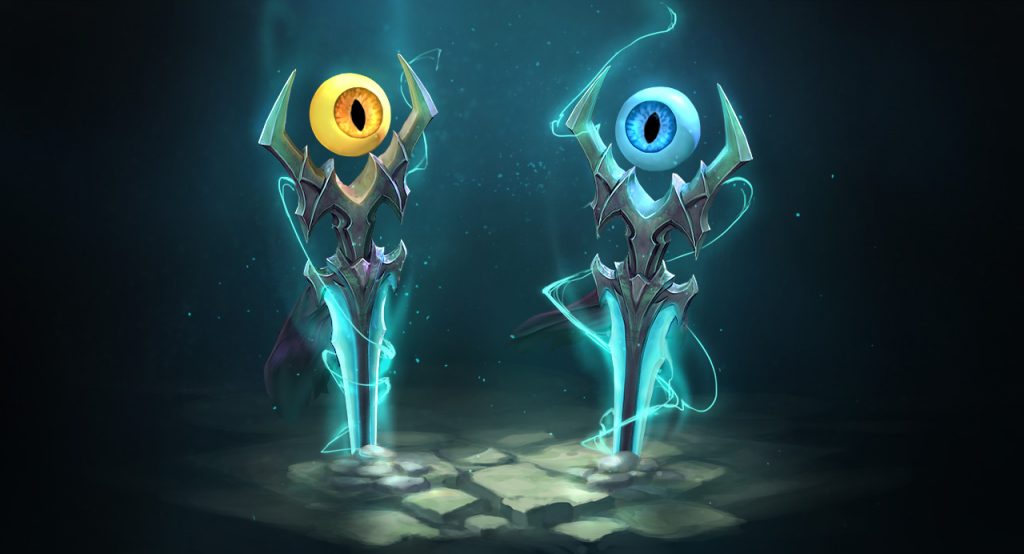
Observer wards are free, have a very limited stock, stick around for six minutes and provide normal vision over about a screen’s worth of the map. Because of their limited stock, it is very important that you use these yellow boys wisely. Since having vision over an area can give you a massive boost to your ability to make the correct decisions throughout the game. Furthermore you will notice that the vision these wards provide follow the same rules as the vision that your own hero provides. What this means, is that they cannot see up highgrounds or around corners and trees.
Sentry wards cost a small amount of money, have way more stock than observer wards, stick around for three minutes and provide true sight over about half a screen’s worth of the map. You have probably spotted that these blue girls seem pretty similar to their yellow counterparts. However the big difference comes in the kind of vision they provide since true sight is entirely different than normal vision. For you see, if you would only have true vision you would be blind. True sight only reveals invisible units in the given area, but if you don’t have normal vision too, you still won’t be able to see those invisible units.
However, to make up for this glaring weakness, sentry wards don’t have to obey the laws of physics. Therefore they are able to provide their true sight up highgrounds and around corners or trees. As you might be able to imagine, observer wards and sentry wards go together like Zack and Cody. They seem very similar on the surface, are very different in practice, but are on their best when combined with each other.
Where to ward
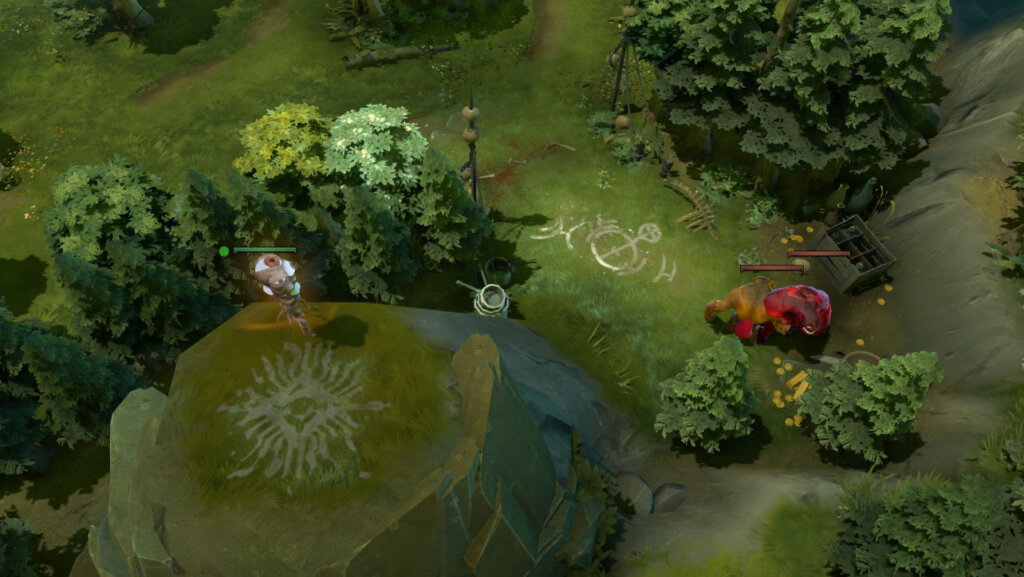
Now that we know what they do, it is time to find out where to put them. You might have already run into the challenge of placing these wards in a way where they provide the maximum amount of vision, without getting blocked by pesky trees and highgrounds. Luckily the frozen toad has provided us with a decent amount of warding cliffs around the map. These cliffs are easy to spot with their eye symbol placed on top of them. These cliffs provide a highground to put your wards on allowing you to have the supernatural eyes of a god over a given area.
While these cliffs are very good places to place your wards for the raw vision they provide, they also carry a certain risk. Since everybody knows about the power of these cliffs, your opponents will definitely use every opportunity they have to put some sentry wards up those cliffs. Allowing them to spot and take down your valuable wards, that you can’t buy more off due to their limited stock.
When to ward
Next up, you probably have encountered some hardship in deciding when to go out and place those wards as well. For defensive wards, in areas of the map you and your team already have control over, the timing really is whenever you have time. Since nothing is really stopping you from placing these wards in the first place, apart from your appealing work ethic.
Aggressive wards in enemy territory however those are a bit more tricky. Since enemy’s are often easy to jump on a lone support looking to place a ward. Therefore your best bet is to either use a smoke while warding aggressively, or doing it after winning a big fight. Since when your enemy’s are dead, they are unable to kill you during your warding mission.
Lastly I’ll give you all a golden tip to make sure you win those fights, creating opportunities to place those wards. Always carry one observer and a few sentry wards in your inventory as a support. So that when a teamfight breaks out you can quickly place them in the area of the fight. Granting your team a way better shot and winning the teamfight, and maybe even the game.

")


